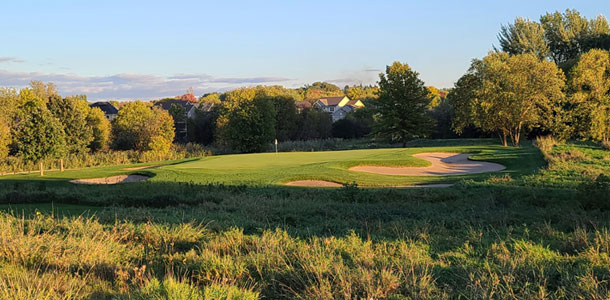
Hole 1
Par 4
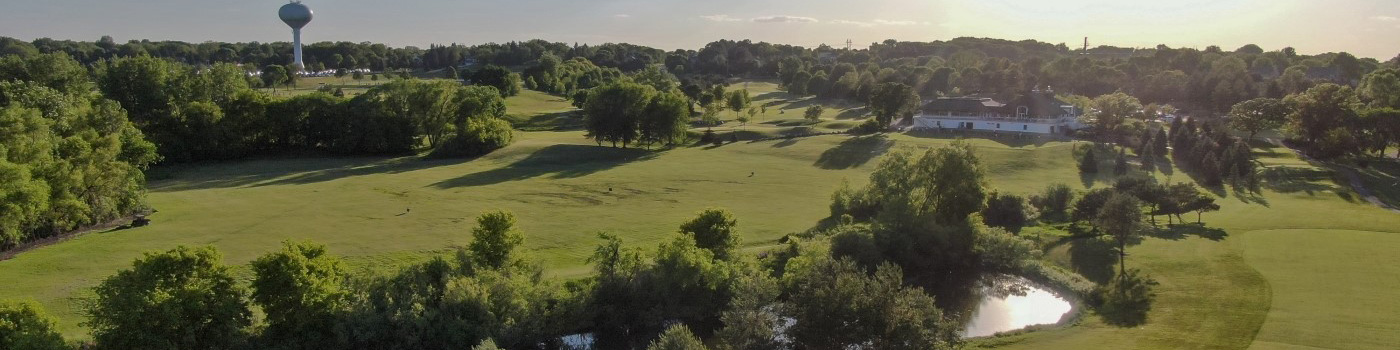
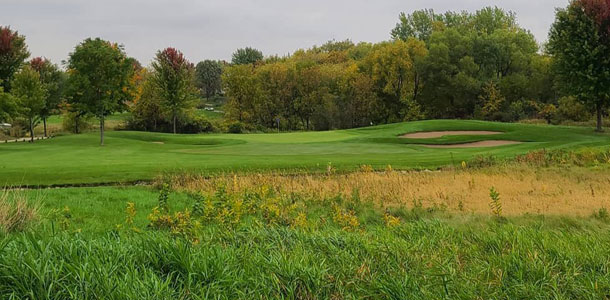
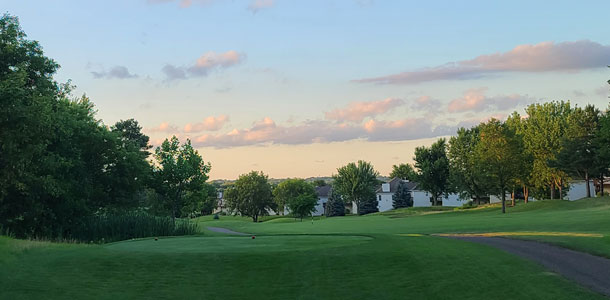
After completing the links-style front nine that winds through picturesque neighborhoods, you’ll notice a clear shift as you enter the back and a much more wooded landscape.

From The Tee
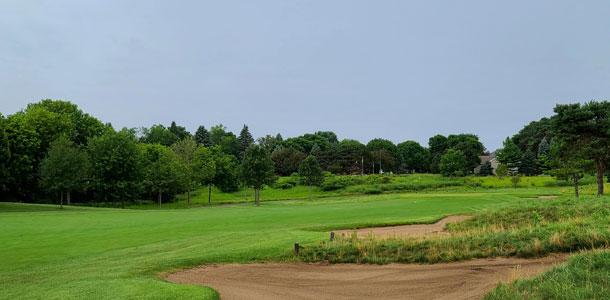
This par four opens up the back with a simple hole full of scenic views and a generous fairway.
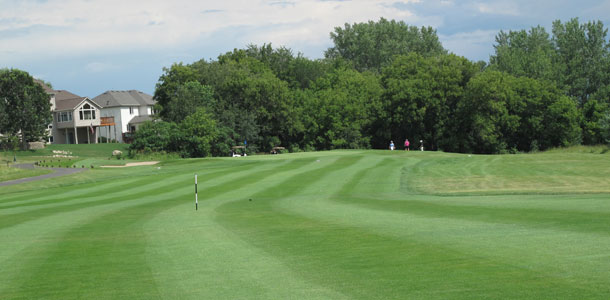
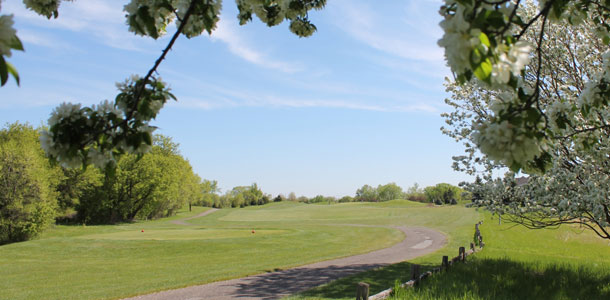
From the Fairway
In addition to the increase in trees, you will find more water on the back. The pond on the right side of this generous fairway is fed by a stream that you will cross several times along the back nine.

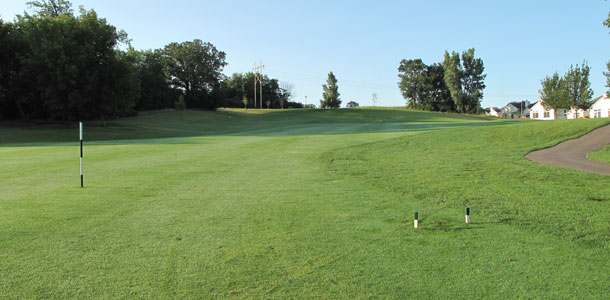
On The Green
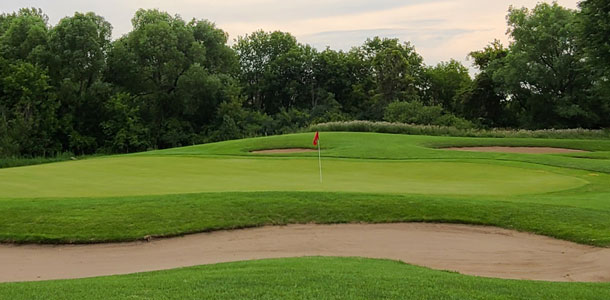
This green is much deeper than it is wide and slopes from back to front and right to left. Guarded on both sides by bunkers, placing your approach shot on the putting surface can be rewarding.
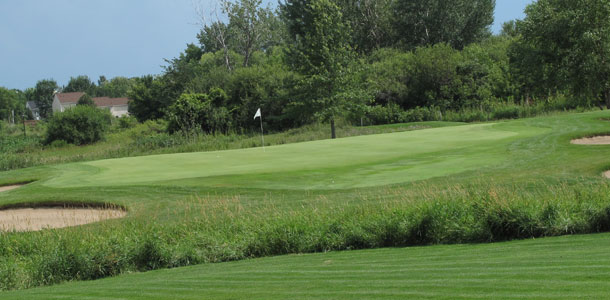
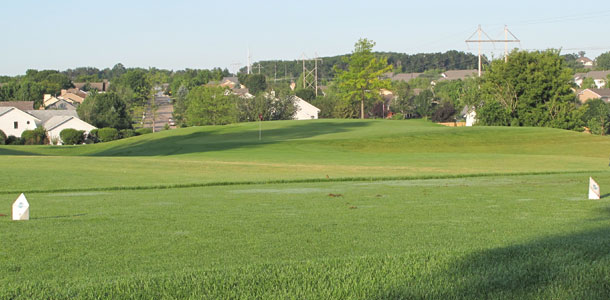
Hole 2 – Hard Left
Par 4
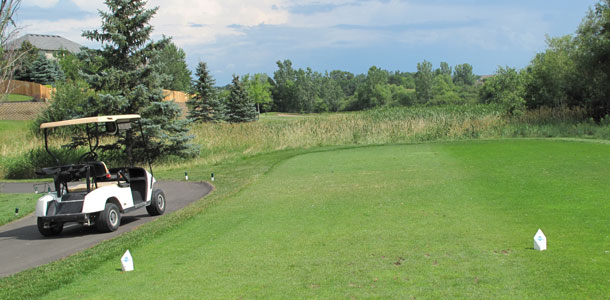
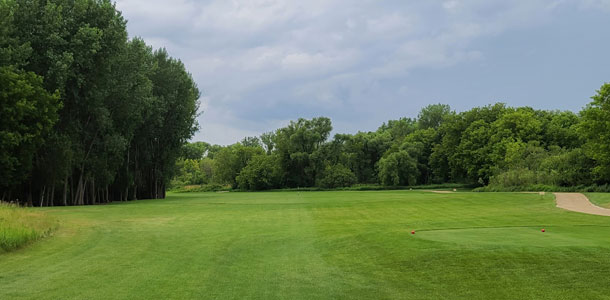
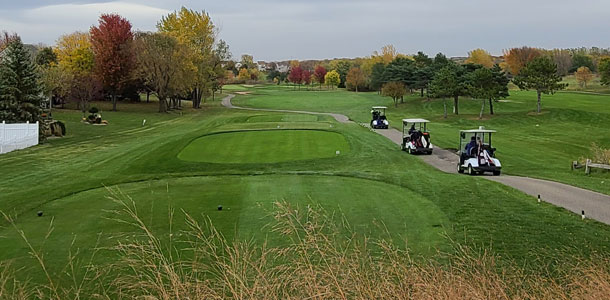
This beautiful par four starts out with a relatively blind tee shot out over a span of marsh. The fairway curves sharply left and the favored line is guarded by two massive bunkers.
From The Tee
There is plenty of marsh to clear and a series of bunkers guarding the turn. Unless you have a reliable draw with some distance, a modest layup is a wise choice affording you a manageable second.
From the Fairway
Find the fairway off the tee and you have a nice look at a receptive green.

On The Green
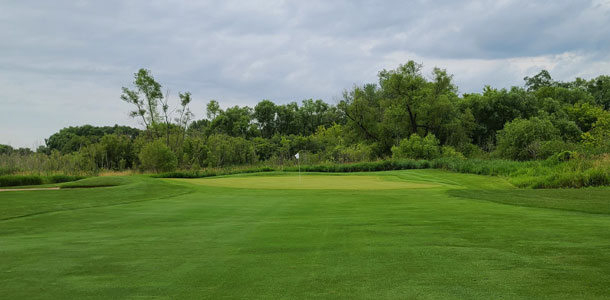
This large green slopes from back to front and tends to hold approach shots well. Line up your putt carefully and be prepared to take advantage of one of the most enjoyable holes on the course.
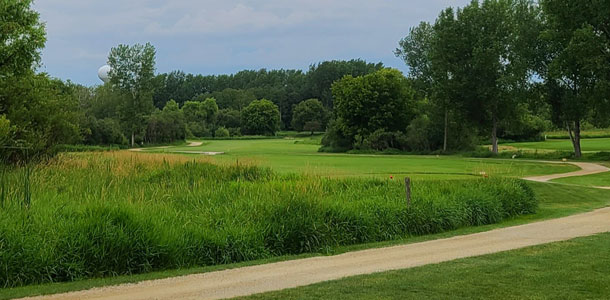
Hole 3 – The Big Swing
Par 3
With almost 100 yards of variation in tee distances, yours isn’t the only big swing on this challenging par three.
From The Tee
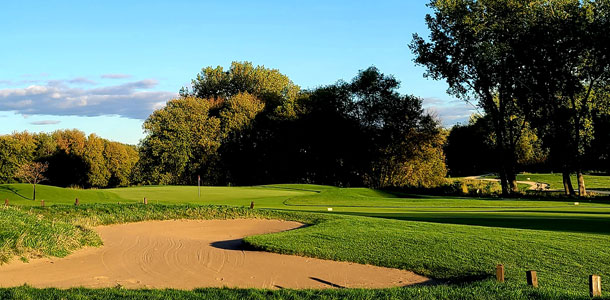
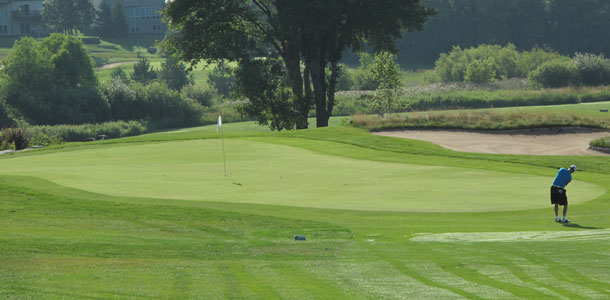
The pin position can vary widely on this large green. With the fingers of the massive green side bunker reaching for your shot, targeting the center of the green can bring great rewards.
On The Green
The putting surface slopes from back to front and right to left. The sheer size of this green may require you to pace off your putt, as looks can be deceiving.
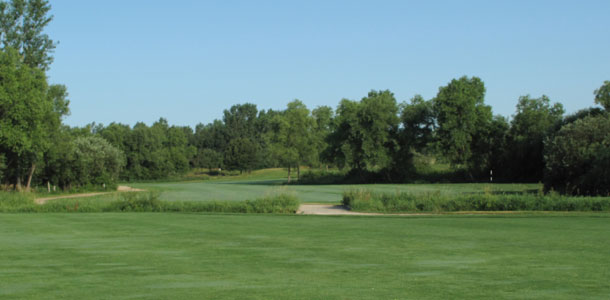
Hole 4 – Hang in There
Par 5
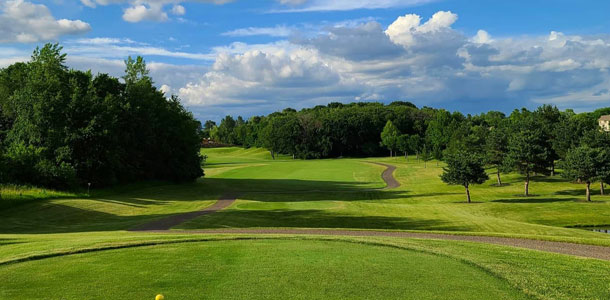
Our signature hole, this difficult par five favors precise shot placement over bombing your way home. Soak up the views as you wind your way through this gem.
From The Tee
The fairway is crossed by a stream and requires big hitters to consider their club selection. It opens up a little on the left, which affords you a better line for your second shot as well.
From the Fairway
The second fairway is narrow and makes you consider whether you want to challenge the corner on the right that guards this green.

On The Green
After navigating the twists and turns this hole provides, finding yourself with a putter in your hand can be a relief. The green is rather deep and protected by bunkers on the right side.
Hole 5 – Safe Haven
Par 3
After completing hole #4, you will likely be happy to see a manageable par three awaiting your arrival. With a tee box tucked into the trees, pay attention to the flag as you figure the wind into your shot.
From The Tee
The putting surface appears to be surrounded by bunkers for good reason. There is plenty, and making up and down out of any is a challenge. Pick a target and swing confidently, as finding the putting surface is critical for a good score here.
On The Green
This green slopes from back to front and has a variety of undulations that make finding the bottom of the cup an interesting pursuit.
Hole 6 – Deer Tracks
Par 4
The back nine finishes with four par fours in a row that begin with this beauty. A gorgeous section of the course, it is also favored by local wildlife. Don’t be offended if the deer don’t rake after themselves in the green side bunkers.
From The Tee
The fairway winds left and is guarded along that side by a creek. A decent tee shot down the right side allows for a nice angle into the pin. Shorter shots down the left make it difficult to find the green in two.
From the Fairway
Keep your eye on the center of the green as you approach your second shot. All sides but the front are protected by sand and tall grass.

On The Green
This 15th green has a lot of character and will test your ability to read putts. It slopes from back to front and has a large shoulder along the left side.
Hole 7 – Leaving the Woods
Par 5
Depending on your play, exiting the heavily wooded potion of our back nine may be a welcome sight. The clubhouse is in view as you catch your breath and tee it up on the 16th at Crystal Lake.

From The Tee
There is a pocket marsh along the left side of the fairway. A tee shot just over the large bush off the cart path is an ideal line.

From the Fairway
A small stream cuts its way across the fairway and has managed to gobble many long tee shots. A culvert over the left half provides the narrowest of runways to the second fairway for those lucky enough to find it.

On The Green
This bean shaped green is protected by two bunkers and has modest undulations that afford makable putts. The small collection area in the front left of the green has seen its fair share of second shots. Be sure to get something up on the surface in order to score well.
Hole 8 – To Ipava and Back
Par 4
The 17th hole leads you uphill towards Ipava Ave and along one of our city’s finest parks. Feel free to pretend that the cheering crowds taking in a soccer or softball game are actually regaling your magnificent tee shot.

From The Tee
After winding your way through most of our back nine, this one is pretty straight forward. Lace one down the middle and prepare to line up your second.
From the Fairway
A series of bunkers lines the right side so favor the left half of the fairway off the tee.

On The Green
This is a large putting surface that slopes from back to front and is guarded by a large sand trap on the right side.
Hole 9 – Bring it Home
Par 4
The back tees at our finishing hole provide a great view of the charming neighborhood that makes Crystal Lake such a local treasure.
From The Tee
The three fairway bunkers are very well placed and require length and accuracy if you want to finish your round with a driver. There is often a decent tail wind so the temptation to let one rip is present.

From the Fairway
Your second shot on #18 can be from a variety of locations making each time you play our finishing hole seem fresh.
On The Green
Depending on your tee shot, the green can be difficult to find. It is also one of the toughest to read. With deceptive breaks and a variety of contours, be prepared to earn that winning score.
Hole 10 – Changing Lanes
Par 5
This starting par five requires anyone thinking of reaching in the green in two undertake a risky tee shot played along the water’s edge. This takes the trees guarding the transition from the first fairway to the second out of play and allows for a clean second.
From The Tee
There is plenty of room to place a safe tee shot in the first fairway. Hole #1 requires anyone thinking of reaching in the green in two to undertake a risky tee shot played along the water’s edge. This takes the trees guarding the transition from the first fairway to the second out of play and allows for a clean second shot.

From the Fairway
If you choose to lay up with your second shot, be aware of the small water hazard on the left side of the fairway.

On The Green
The green is elevated nearly 12 ft above the second fairway and framed beautifully against the rock retaining wall and bridge to #2. As narrow as 18 ft in portions the 56 ft of depth is greater than it appears while standing down below it.
Hole 11 – Clear the Gap
Par 3
The elevated tee to this tricky par three requires you to assess the wind before hitting. Depending on how hard it is blowing, it can have a big impact on your shot.

From The Tee
The tee box you selected for your round comes into play when you line up this tee shot. Whether taking aim from 110 or 180 yards, keep in mind that pars are difficult to achieve coming out of the deep bunker guarding the front of the green.

On The Green
This generous-sized green slopes back to front and left to right. Take your time lining up your putt as the subtle contours can elude a quick glance.
Hole 12 – Roll Out
Par 4
A shorter par four that rolls out downhill and favors a draw, this is a great birdie opportunity for most players.
From The Tee
A safe lay up is certainly an option on this hole. For those adventurous enough to attempt cutting the corner, be aware of the decent size bunker guarding the left. Hit the proper draw and it will bounce and release all the way down towards the green.

From the Fairway
A series of bunkers shield the right side. Anything through the fairway and into these traps can make for a difficult second.

On The Green
While avoiding the bunker on the front right is important, it should be noted that anything long on this hole is in big trouble. The green is large and receptive sloping from back to front. Dial in the perfect wedge and start thinking birdie putt.
Hole 13 – Hazard Area
Par 4
This hole is named after the large hazard area that lines the right side of this fairway. No need to visit that though, as there is plenty of the room in the fairway to the left.
From The Tee
If you are playing the black tees you’ll appreciate the beautiful view from back in this corner of the course. Lace one out in the middle as shots from the fairway are a premium on this longer par four.

From the Fairway
Successfully avoid the waste area flanking the right side of the hole and you can be poised to attack the green. The fairway and rough have some slope to them so getting your feet set is critical.

On The Green
This massive green slopes back to front and has a deep pocket in the back right. With multiple tiers, putting from any distance can make scoring tough on this green.
Hole 14 – Watering Hole
Par 4
Whether it is the local duck and turtle population or members of your group, there is no doubt that many guests to the course find their way to the water on the right side of this classic risk/reward hole.

From The Tee
A mid to long iron from the tee is a conservative shot that can yield a manageable second shot into a well guarded green. Otherwise, pull out your driver and see how much of the watering hole you choose to drink.

From the Fairway
While the fairway is flat, anything to the right tends to keep going to the right towards the pond. The 150 yard stick is a great place for a safe second shot.

On The Green
This generous-sized green slopes back to front and is protected along the front left by a series of bunkers. With a range of contours, leaving the ball below the hole can be very rewarding.
From The Tee
A mid to long iron from the tee is a conservative shot that can yield a manageable second shot into a well guarded green. Otherwise, pull out your driver and see how much of the watering hole you choose to drink.
From the Fairway
While the fairway is flat, anything to the right tends to keep going to the right towards the pond. The 150 yard stick is a great place for a safe second shot.
On The Green
This generous-sized green slopes back to front and is protected along the front left by a series of bunkers. With a range of contours, leaving the ball below the hole can be very rewarding.
Hole 15 – Narrow Passage
Par 4
With the most narrow landing area on the course (15 yards), accuracy is critical on this difficult par four.

From The Tee
Avoid the bunkers that populate the left side of the fairway on this challenging tee shot. The narrow landing area places a premium on accuracy.

From the Fairway
If you manage to avoid the bunkers with your tee shot, keep that up on your second. Your approach to this green is guarded by bunkers on both sides.

On The Green
This generous-sized green slopes back to front. Take your time lining up your putt as there is a lot of character to this green.
Hole 16 – Going Up
Par 4
This shorter par four can be difficult. Up hill all the way, it will challenge your accuracy and ball-striking abilities. Once at the top and on the green, relax a moment and enjoy the breath-taking views of the south metro and Buck Hill in the distance.

From The Tee
Up hill all the way, the fairway appears constrained from the tee but actually opens up a bit to the right beyond the trees.
From the Fairway
Be sure to hit your tee shot to a comfortable distance for your second as the green is very shallow from back to front and is tough to hold.

On The Green
After successfully placing your tee shot, your work has just begun. This shallow green is the smallest on the course, slopes from back to front and has a lot of character. When in doubt, remember that a majority of it breaks towards Buck Hill, often more so than it appears at first glance.
Hole 17 – Brief Respite
Par 3
After making the climb up the seventh hole, this short par three is a welcome break. Be sure to check the wind before selecting a club.
From The Tee
The array of power lines and houses in the backdrop provide ample target options. You may want to favor the middle of this large inviting green. Keep in mind that anything long is a very difficult up and down.

On The Green
With several tiers and a fair amount of break. You can find yourself with some very interesting putts on this adventuresome green.
Hole 18 – Slow Descent
Par 5
The front nine finishes off with a majestic par five. Stay focused on the task at hand, even if those amazing smells from the clubhouse grill have you fantasizing about a burger at the turn.

From The Tee
With a large landing area for most golfers a safe tee shot gets you off to a great start on this hole. Long ball hitters will need to consider the bunkers that choke out the fairway if they want to challenge this hole.

From the Fairway
This par 5 requires more than a strong tee shot to reach the green in two. The putting surface is guarded by water right, bunkers left and has a false front that makes rolling on very tough. If you lay up, consider taking something off your second shot as the downhill fairway will roll out.

On The Green
After navigating your way down the hill, consider your shots carefully as the water, bunkers and angle of approach into this green make finishing your front nine strong a real test.